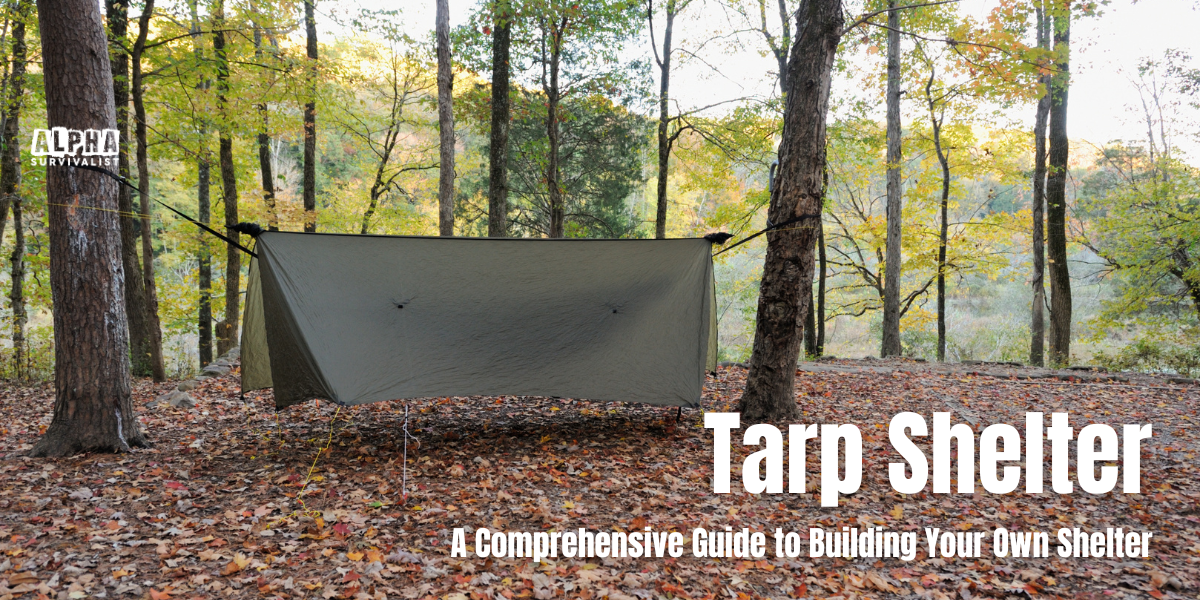
A tarp shelter is a versatile and affordable solution for camping and outdoor enthusiasts looking for a lightweight and easy-to-set-up shelter. Tarp shelters can be used in a variety of ways, from a simple overhead cover to a fully enclosed tent-like structure. With a little creativity and some basic knowledge of knots and rigging, you can create a comfortable and protective shelter that will keep you dry and comfortable in any weather.
When it comes to camping, having a reliable shelter is essential. A tarp shelter is a great option for those who want to stay protected from the elements without breaking the bank. Tarps are lightweight, easy to pack, and can be set up in a variety of configurations to suit your needs. Whether you’re camping in the back country or at a designated campsite, a tarp shelter can provide the perfect amount of protection and privacy.
Tarps come in a variety of sizes and materials, so it’s important to choose the right one for your needs. Some tarps are designed specifically for camping and come with reinforced grommets and tie-out points, while others are more basic and may require additional rigging. With a little practice and some trial and error, you can find the perfect tarp shelter configuration to suit your needs and preferences.
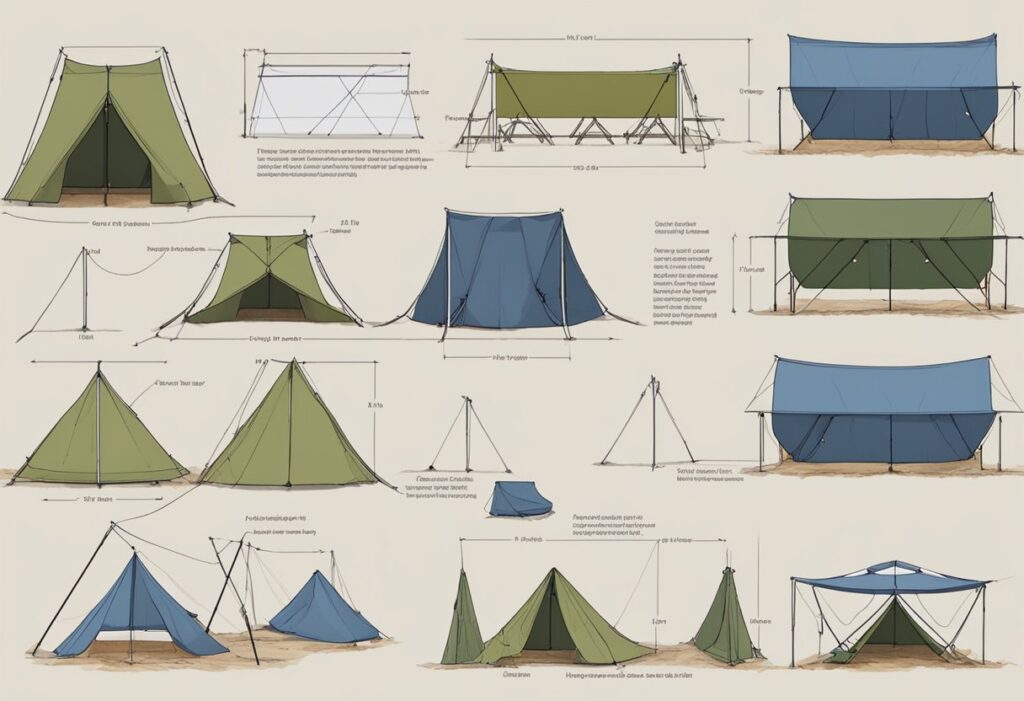
Tarp Shelter Types
When setting up a tarp shelter, there are several configurations to choose from. In this section, we’ll go over some of the most common types of tarp shelters and their unique features.
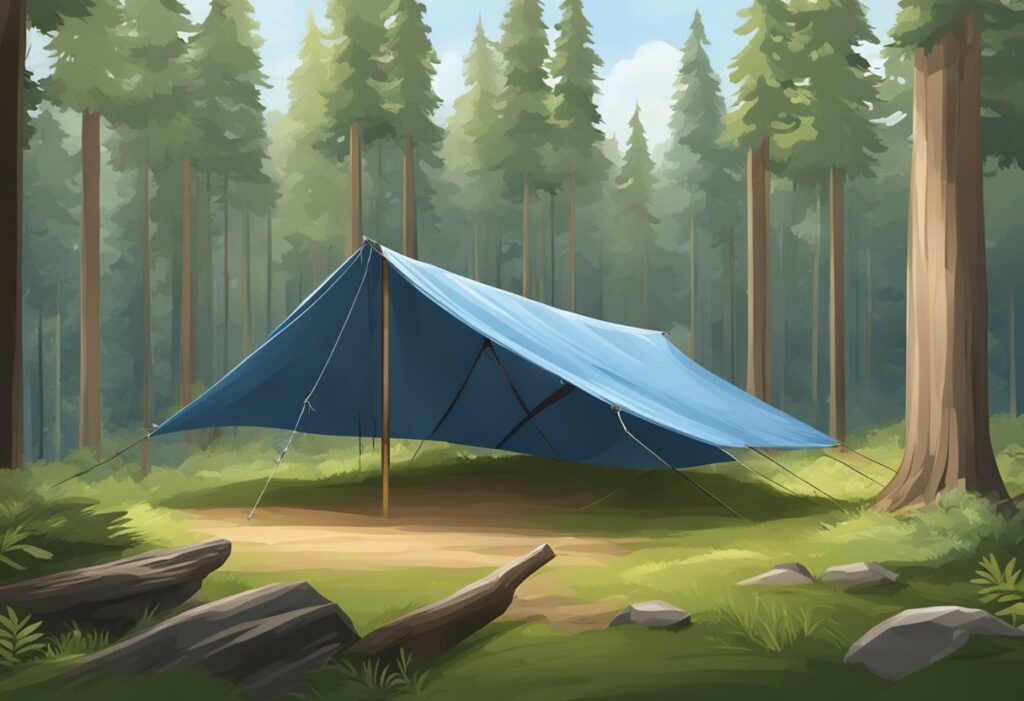
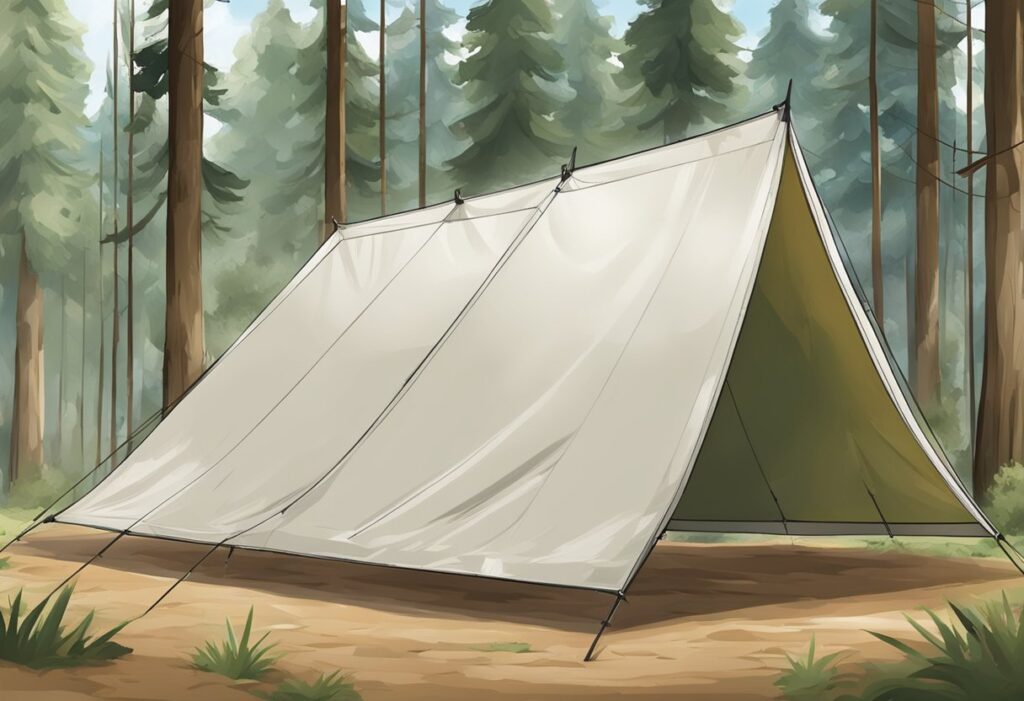
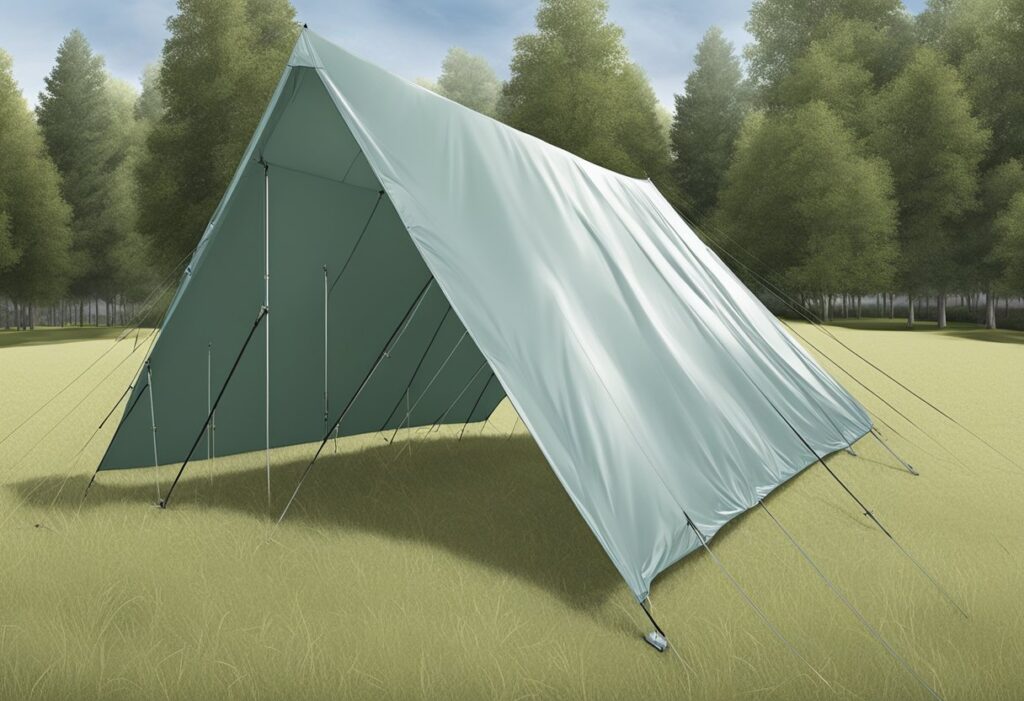
A-Frame
The A-Frame tarp shelter is a classic design that is easy to set up and provides great protection from the elements. You create it by stringing a ridge line between two trees and then attaching the tarp to it with the corners staked down on either side. This creates a triangular shape that resembles an “A”.
Lean-To
The Lean-To tarp shelter is another popular design that is great for camping in windy or rainy conditions. To set up a Lean-To, you’ll need to attach one end of the tarp to a tree or other anchor point and then stake the other end to the ground at a slight angle. This creates a sloping roof that provides excellent protection from the elements.
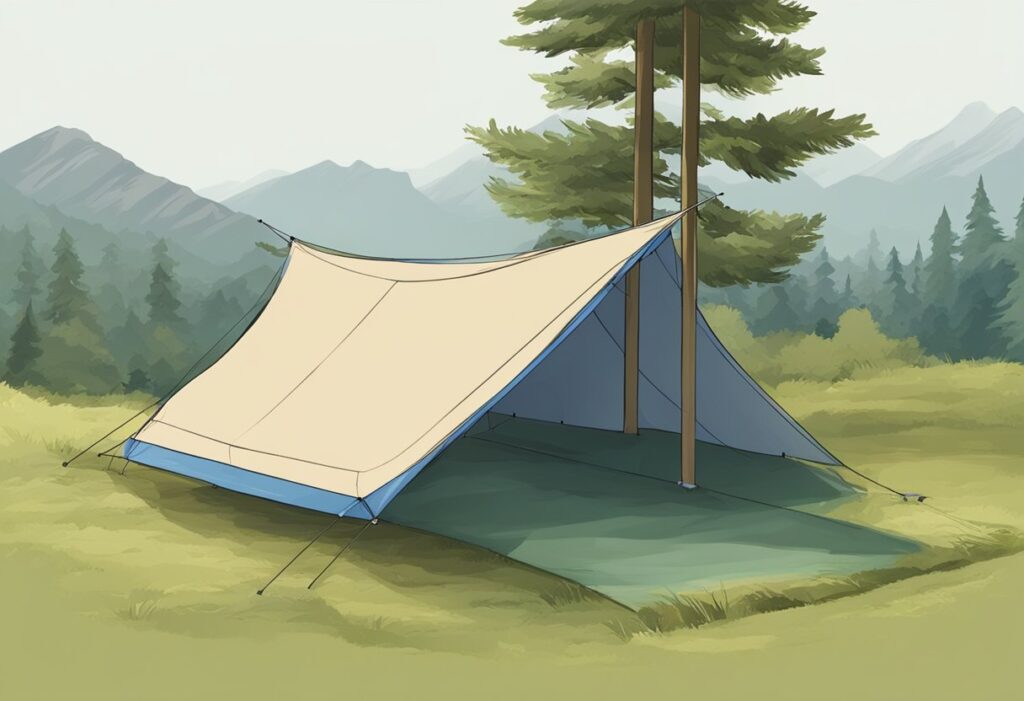
Envelope
The Envelope tarp shelter is a versatile design that can be used in a variety of different ways. You create it by stringing a ridge line between two trees and then draping the tarp over it so that it hangs down on either side. The corners are then staked down to create a rectangular shape that resembles an envelope.
C-Fly Wedge
The C-Fly Wedge tarp shelter is a popular design for backpackers and hikers who need a lightweight and compact shelter. To set up a C-Fly Wedge, you’ll need to string a ridge line between two trees and then attach the tarp to it with the corners staked down on either side. This creates a triangular shape that resembles a “C” and provides excellent protection from the elements.
Choosing the Right Tarp
When choosing the right tarp for your camping needs, there are a few important factors to consider. In this section, we will discuss the material considerations, size and shape, and weight and portability of tarps to help you make an informed decision.
Material Considerations
The material of the tarp is an important consideration when choosing the right tarp for your camping needs. The most common materials used for tarps are polyethylene, canvas, and silnylon. Polyethylene tarps are the most affordable and widely available, but they are not as durable as canvas or silnylon. Canvas tarps are more durable and offer better protection from the elements, but they are heavier and bulkier than polyethylene or silnylon tarps. Silnylon tarps are the lightest and most waterproof option, making them ideal for ultralight backpacking trips.
Size and Shape
The size and shape of the tarp will depend on your specific camping needs. A larger tarp will offer more coverage and protection from the elements, but it will also be heavier and bulkier to carry. A smaller tarp may be more lightweight and portable, but it may not offer as much coverage. The shape of the tarp will also affect its coverage and protection. A rectangular tarp will offer more coverage than a square tarp, while a hexagonal tarp will provide better protection from the wind.
Weight and Portability
The weight and portability of the tarp are important considerations for backpackers and hikers. A lightweight tarp will be easier to carry and will not add unnecessary weight to your pack. Silnylon tarps are the lightest option, but they can be more expensive than other materials. Polyethylene tarps are the most affordable and widely available, but they are heavier and bulkier than silnylon tarps. Canvas tarps are the heaviest and least portable option, but they offer the most durability and protection from the elements.
Essential Tarp Shelter Setup Gear

When setting up a tarp shelter, having the right gear can make all the difference. Here are some essential items to consider:
Stakes and Guy-lines
Stakes and guy-lines are critical components of any tarp shelter setup. They help to anchor the tarp to the ground and keep it stable in windy conditions. We recommend using lightweight aluminum stakes, as they are strong and durable, yet lightweight and easy to carry. For guy-lines, we suggest using reflective paracord, which is easy to see in low light conditions.
Trekking Poles and Trees
Trekking poles and trees can both be used to support a tarp shelter. Trekking poles are lightweight and collapsible, making them easy to carry. They can be used to create a variety of tarp shelter configurations, such as the A-frame, lean-to, and diamond fly. Trees can also be used to support a tarp shelter, but it’s important to use tree-friendly straps to avoid damaging the bark.
Knots and Cordage
Knowing how to tie a few basic knots can be incredibly useful when setting up a tarp shelter. We recommend learning how to tie the following knots: the taut-line hitch, the bowline, and the trucker’s hitch. For cordage, we suggest using lightweight and durable paracord, which can be used for a variety of tasks beyond tarp shelter setup.
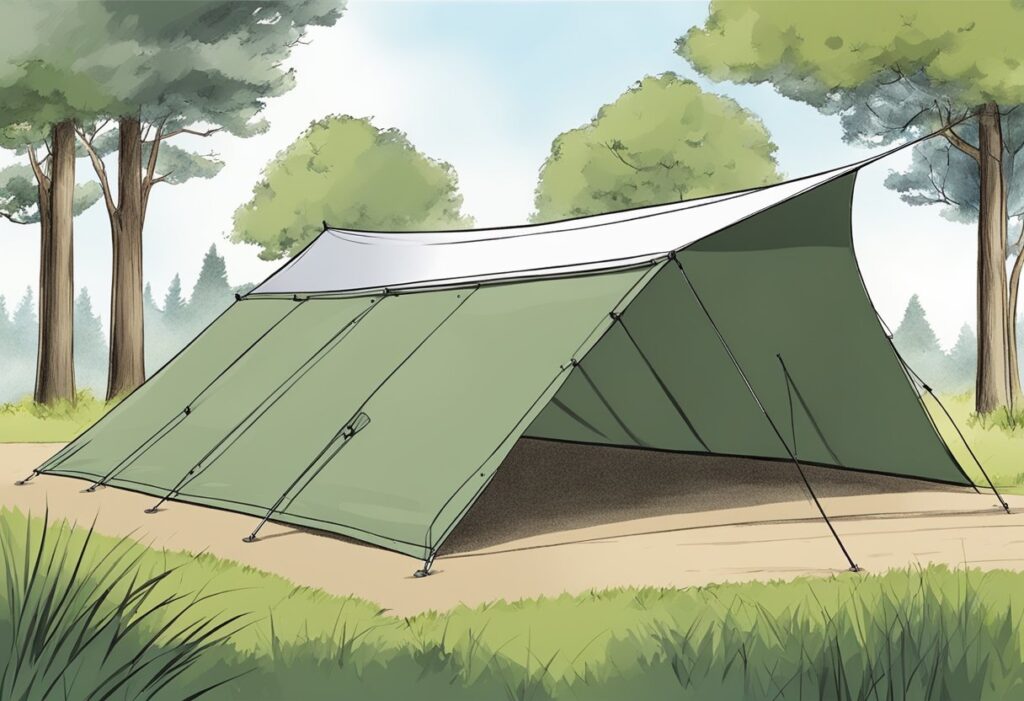
Tarp Shelter Configurations
When setting up a tarp shelter, there are a few things to consider. The ridge line setup, groundsheet integration, and weather adaptations are some of the key factors that can affect the effectiveness of your tarp shelter.
Ridge line Setup
The ridge line is the line that runs the length of your tarp. It is important to set it up correctly to ensure that your tarp is taut and provides adequate protection from the elements. One popular way to set up a ridge line is to tie a rope between two trees and then hang your tarp from the rope. This allows you to adjust the height of your tarp and keep it level.
Groundsheet Integration
Integrating a groundsheet into your tarp shelter can provide additional protection from the elements. A groundsheet can help keep you dry and warm, especially if you are camping on damp or wet ground. It can also help protect your gear from moisture. One method of integrating a groundsheet is to fold the edges of your tarp up and then place a groundsheet underneath. You can then stake the edges of your tarp to the ground to create a waterproof seal.
Weather Adaptations
Adapting your tarp shelter to different weather conditions is important to ensure that you stay dry and comfortable. For example, in windy conditions, you may want to set up your tarp in a low, sheltered area to provide additional wind protection. In rainy conditions, you may want to set up your tarp in a way that allows rain to run off the sides and away from your shelter. One popular tarp configuration for rain protection is the A-frame setup, which provides two walls and a roof.
Securing and Anchoring Techniques for your Tarp Shelter
When setting up a tarp shelter, it is important to secure and anchor it properly to ensure it stays in place and provides adequate protection from the elements. In this section, we will discuss some essential techniques for securing and anchoring your tarp shelter.
Knot Tying
Knot tying is an essential skill when it comes to securing and anchoring your tarp shelter. The bowline knot is a durable and reliable knot that can be used to tie the corners of your tarp shelter to trees or other anchor points. The taut-line hitch is another essential knot that can be used to adjust the tension of your guy lines and keep your tarp shelter taut and secure.
Natural Anchors
If you are camping in a location without trees or other anchor points, you can use natural anchors such as rocks or dirt to secure your tarp shelter. Simply tie your guy lines to rocks or use rocks to anchor the corners of your tarp shelter. You can also dig holes and bury rocks or sticks to create anchor points.
Improvised Solutions
In some situations, you may need to improvise solutions for securing and anchoring your tarp shelter. For example, you can use your backpack or other gear as an anchor point by tying your guy lines to the straps or handles. You can also use sticks or branches to create improvised anchor points by tying your guy lines to them.
Maximizing Comfort and Protection
When it comes to tarp shelters, comfort and protection are two of the most important factors to consider. In this section, we’ll discuss some tips and tricks for maximizing both.
Ventilation and Condensation
One of the biggest challenges when camping in a tarp shelter is managing condensation. Without proper ventilation, moisture can build up inside the shelter, making it damp and uncomfortable. To prevent this, set up your tarp in a way that maximizes airflow. This might mean using a more open configuration, like the A-frame or lean-to, or adding extra guy lines to pull the tarp away from your body.
Another way to manage condensation is to use a groundsheet or footprint. This will help prevent moisture from seeping up through the ground and into your shelter. Just be sure to choose a breathable material, like Tyvek or a lightweight tarp, to avoid trapping moisture inside.
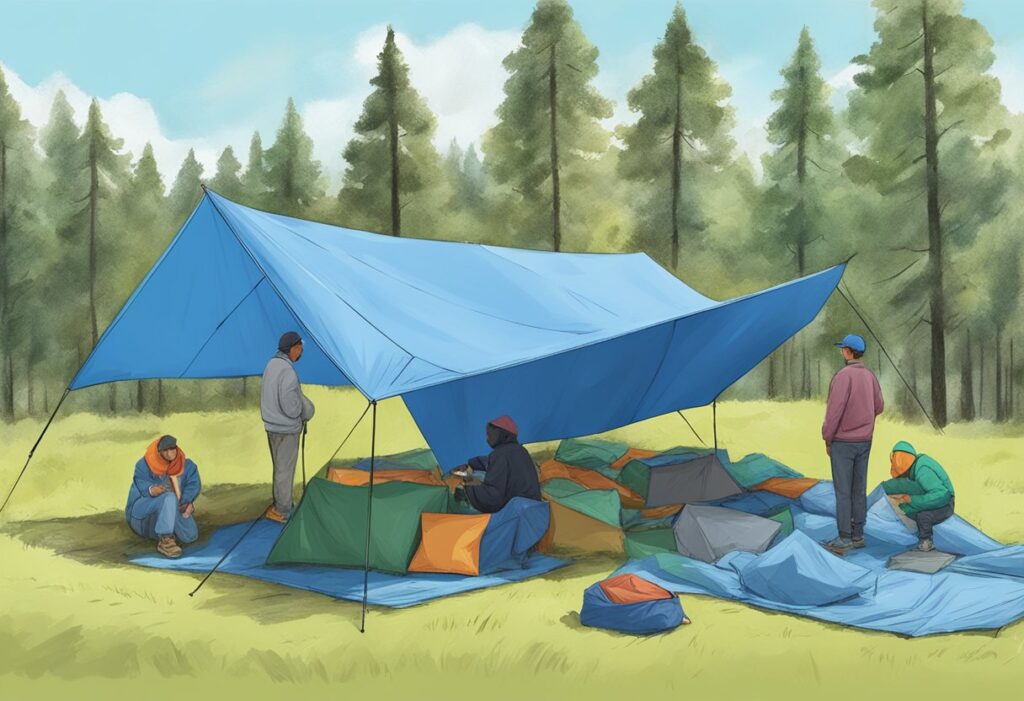
Creating Living Space
While tarp shelters are great for their simplicity and versatility, they can also be quite cramped. To maximize your living space, use a larger tarp or combine multiple tarps to create a larger shelter. You can also use trekking poles or branches to create a more spacious interior.
Another way to create more living space is to use a bivy sack or bug net. This will give you a separate area to sleep or relax, while still allowing you to enjoy the open air.
Protection from Elements
Of course, one of the main reasons to use a tarp shelter is to protect yourself from the elements. To ensure maximum protection, choose a shelter configuration that is appropriate for the weather conditions you’ll be facing. For example, if you’ll be camping in a windy area, use a wind shed or add extra guy lines to secure your tarp.
You should also consider adding a rain fly or extra tarp to your setup, especially if you’ll be camping in wet or rainy conditions. This will help keep you and your gear dry, and prevent moisture from seeping into your shelter.
Tarp Shelter Tips for Backpacking
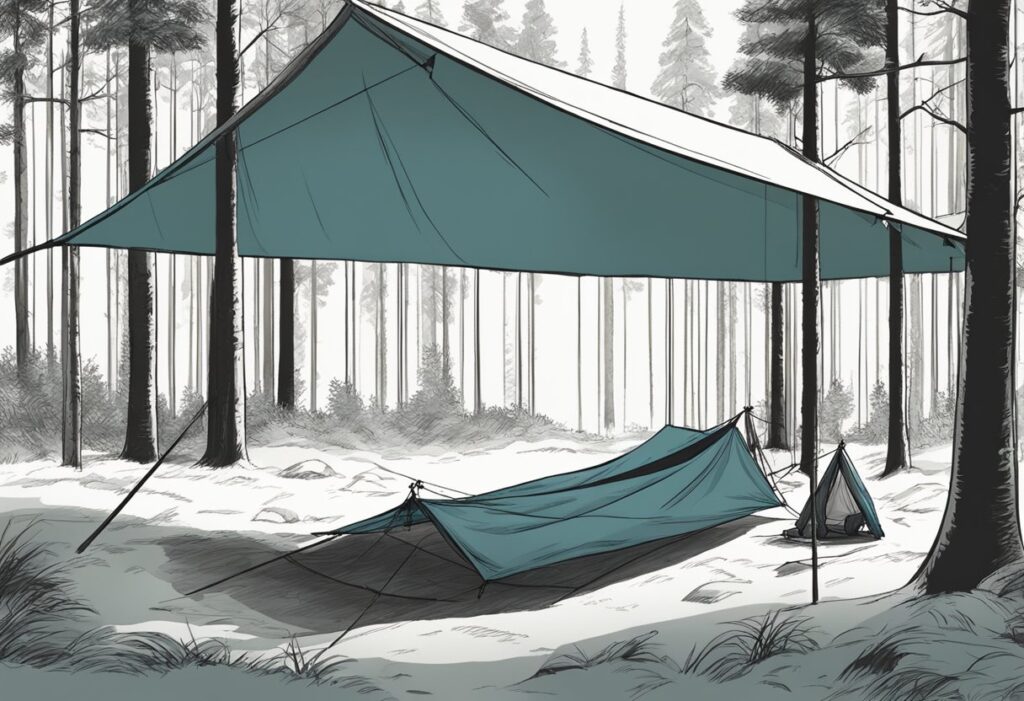
When it comes to backpacking, tarp shelters offer a lightweight and versatile option for those looking to travel light and stay protected from the elements. Here are some tips for using tarp shelters while backpacking.
Ultralight Strategies
One of the biggest advantages of using a tarp shelter while backpacking is the ability to keep your pack weight to a minimum. To make the most of this advantage, consider using ultralight strategies when setting up your tarp shelter. This might include using lightweight materials for your tarp and guy-lines, as well as using natural features like trees or rocks to anchor your shelter.
Leave No Trace Principles
As with any type of camping or backpacking, it’s important to follow Leave No Trace principles when using a tarp shelter. This means being mindful of your impact on the environment and taking steps to minimize it. For example, when setting up your tarp shelter, avoid damaging vegetation or disturbing wildlife. Additionally, be sure to pack out all trash and leave your campsite better than you found it.
Backpacking Versatility
One of the great things about tarp shelters is their versatility. Whether you’re hiking the Appalachian Trail or exploring the wilderness in your local park, a tarp shelter can be adapted to suit your needs. For example, you might set up your tarp in a classic A-frame configuration for maximum protection from the elements, or use a lean-to configuration for a more open and airy feel.
Tarp Shelter Customization and Advanced Techniques
When it comes to tarp shelter setups, there are a variety of customization options and advanced techniques that can be used to tailor your shelter to your specific needs. In this section, we will explore some of the ways in which you can modify your tarp shelter to make it more effective, adaptable, and resilient.
DIY Modifications
One of the great things about tarp shelters is that they are highly customizable. With a little creativity and ingenuity, you can transform a basic tarp into a shelter that is tailored to your specific needs. Some common DIY modifications include adding guy lines, creating additional tie-out points, or even sewing on extra material to create a larger shelter.
Adapting to Geography
The geography of your camping location can have a significant impact on the effectiveness of your tarp shelter. By adapting your shelter to the specific terrain and weather conditions, you can create a more secure and comfortable shelter. For example, if you are camping in an area with high winds, you may want to consider using a more aerodynamic shelter configuration, such as a low-profile A-frame or a windbreak wall. Alternatively, if you are camping in a wet or humid environment, you may want to create a shelter with a steeper pitch to allow for better water runoff.
Tarp Shelter Survival Applications
In a survival situation, a tarp shelter can be a lifesaver. By using advanced techniques, you can transform a basic tarp into a shelter that can keep you warm and dry in even the harshest conditions. Creating a debris shelter or building a snow cave are some examples of these techniques. Additionally, using natural materials such as branches or rocks to anchor your shelter can make it more secure and stable. This way, your shelter can withstand high winds and heavy rain.
By modifying and customizing your tarp shelter, you can create a more effective and adaptable shelter that is tailored to your specific needs. Whether you are camping in the back country or preparing for a survival situation, a tarp shelter can be a versatile and reliable shelter option.