Simple Water Bath Canning Steps
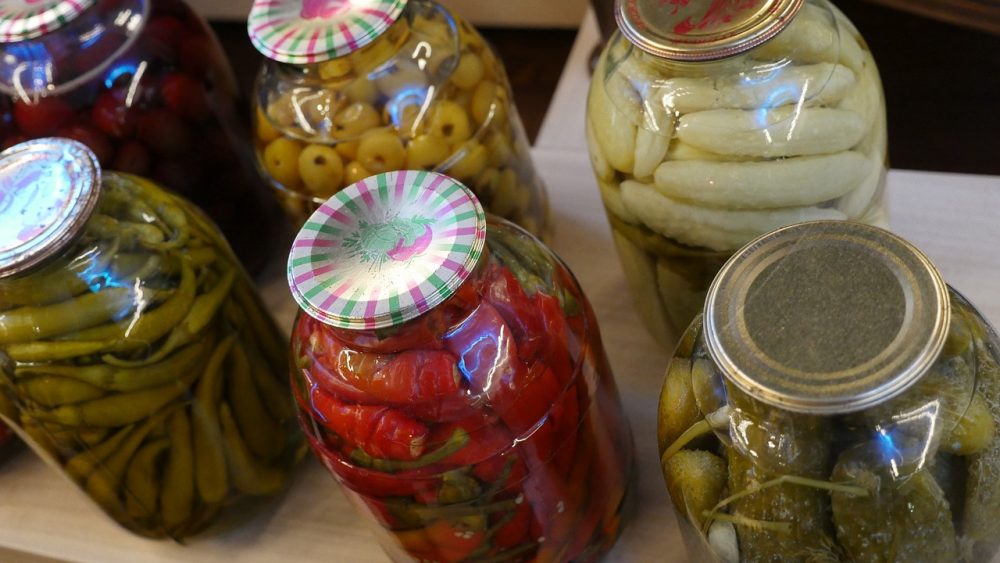
Water bath canning is used to preserve certain edible items such as sauces, vinegars, chutneys, pickles, most tomatoes, salsas, fruit spreads, jellies, jams, fruit juices, fruits, and condiments.
All these foods have one thing in common, they all contain high acid levels or the food’s recipe implements an appropriately high proportion of acids. Water bath canning is the best way to preserve acidic food from getting spoilt.
Non-acidic vegetables and meats are not suitable for water bath canning and will require processing at a higher temperature which can only be achieved by using a pressure canner.
Ensure you have the Correct Equipment and Supplies:
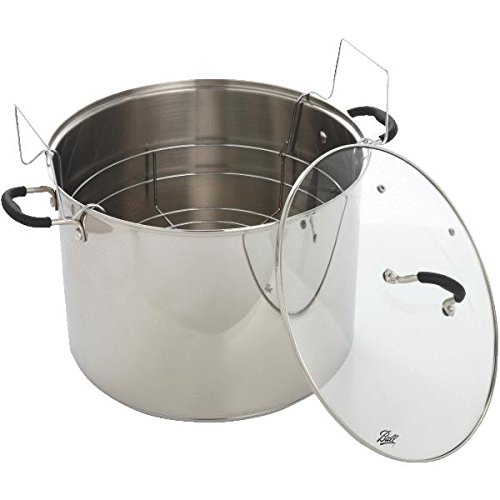
- A large, deep saucepan with a lid and a rack small enough to sit on the bottom of the pan, or preferably a made for purpose water bath canner.
- Glass preserving jars
, along with new lids and bands.
- Kitchen utensils such as a ladle, paring knife, and wooden spoon.
- Jar lifter
- Good quality fresh fruit and vegetables
- Bubble freer and headspace tool
- Home canning funnel
Every recipe will require a specific jar size, processing time and method. Therefore you must always ensure you have all the necessary supplies for each specific job.
The Complete Canning Process – Broken Down
Phase 1: Preparation
- Pour water into the water bath canner to at least 50% full. Cover and simmer at a temperature of 180°F till the jars are all filled and placed inside the canner.
- Ensure the lids, jars, and bands all function as they should. Any jars with cracks, nicks, sharp edges, or uneven rims should be discarded as they may result in jar breakage or prevent sealing. The bottom side of lids should also be checked for any scratches or damaged, uneven, or incomplete sealing compound all of which will seriously affect the effectiveness of the seal. Wash everything in hot and soapy water, then ensure they are all dried well.
- Canning jars should be pre-heated in hot water (180°F). When jars are hot, they WILL NOT break when you fill them with hot food. Bands and lids should be left at room temp so they can be easily handled.
Phase 2: Food Processing
- Take out your pre-heated jars with a jar lifter. Fill each jar, one after another, with whatever you are canning; use your jar funnel leaving enough space at the top of each jar in accordance with your specific recipe. Remove all air bubbles, should your recipe contain any such instructions, by using a rubber spatula or a Bubble freer & Headspace Tool, to slide between the food and jar. This will release any trapped air trapped inside the newly filled jar. You may need to repeat the process 2 or 3 times to ensure all trapped air is eliminated.
- Use a clean, damp cloth to wipe clean any stray food from the jar’s thread and rim. Place a lid centrally on each jar so that the sealing compound makes contact with each jar’s rim. Screw a band onto each jar until finger tight. Place jars inside canner. Ensure the water fully submerges the jars by one or two inches.
- Put the lid on the water bath canner, before bringing water to a rolling boiling point at which time you should start your processing time.
- Jars should remain processing in the boiling water for the time stipulated in the preserving recipe being followed. When the time is complete, turn off the heat, and remove the lid of the canner. Do not remove jars from the canner for at least 5 minutes; this helps the jars to acclimatise to the external temperature.
Phase 3: Post Processing
- Lay out a towel and remove the processed jars from the canner placing them upright on it. This will greatly minimize any chance of jars breaking due to the sudden temperature change. Leave the jars completely alone for between 12 to 24 hours, DO NOT agitate them at all and DO NOT re-tighten the bands as this often causes issues with the process of sealing.
- After this sitting time you need to inspect each jar to ensure a tight, secure seal has been achieved. There shouldn’t be any flex when a lid is pressed in the centre. Then you should take the bands off and try using your fingertips to lift the lids. If the seals are properly sealed, they will remain in their position. If a lid has not sealed after a period of 24hrs you should refrigerate it immediately and use as soon as possible.
- When not in use clean lids, canning jars, labels, etc and ensure you store them somewhere that is dark, cool, and dry.
TIP: Although we would always advise to use made for purpose water bathing canners you do not necessarily require special equipment to can. A deep, large sauce-pot that has a rack and lid works perfectly.
So long as the size is big enough to accommodate the jars with water by say, one or two inches – and the water can boil rapidly the moment it is covered – then that pot is good enough. If you lack a rack that is specifically designed for domestic preserving, apply cake cooling racks or use extra bands that are tied together to make a makeshift rack ensuring the pot’s bottom is covered.


