When it comes to emergency preparedness, one of the most important things to consider is having a reliable source of food. Emergency survival food kits are a popular option for those who want to be prepared for unexpected situations, but they can also be expensive. Fortunately, it is possible to make your own emergency survival food kit on a budget.
Creating your own emergency survival food kit allows you to customize it to your specific needs and preferences. You can choose foods that you enjoy and that will provide you with the necessary nutrients to sustain yourself during an emergency. Additionally, making your own kit can be more cost-effective than purchasing a pre-made one, especially if you buy in bulk and store the food properly. In this article, we will explore some tips and tricks for creating your own emergency survival food kit on a budget.
Understanding the Basics of an Emergency Survival Food Kit
When it comes to creating an emergency food kit, there are a few basics that everyone should understand. In this section, we will cover the importance of water and hydration, as well as nutritional considerations for sustained energy.
The Importance of Water and Hydration
Water is the most essential nutrient for life. In an emergency situation, access to clean water may be limited, so you need to have a plan for water storage and purification. We recommend storing at least one gallon of water per person per day, and having a water filtration system or purification tablets on hand.
In addition to drinking water, you also need to consider other sources of hydration. Soups, broths, and electrolyte drinks can help replace lost fluids and minerals.
Nutritional Considerations for Sustained Energy
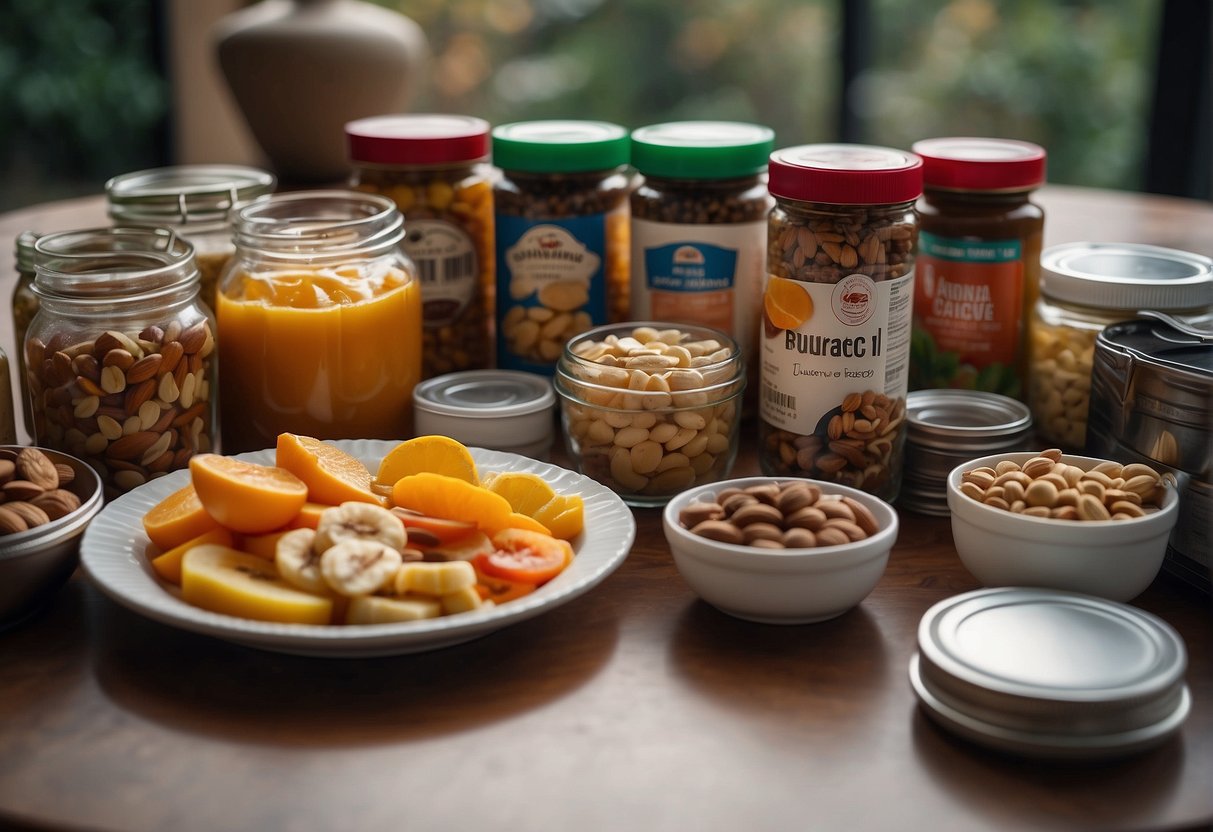
When creating an emergency food kit, you need to consider the nutritional needs of your body. A balanced diet should include a mix of protein, carbohydrates, fats, and minerals. We recommend selecting foods that are high in nutrients and have a long shelf life.
Protein-rich foods like canned meats, nuts, and beans can help maintain muscle mass and provide sustained energy. Meanwhile, carbohydrates like rice, pasta, and cereal can provide quick energy, while fats like peanut butter and olive oil can provide long-lasting energy.
You also need to consider the vitamins and minerals your body needs. Foods like canned fruits and vegetables, multivitamins, and electrolyte drinks can help ensure you are getting the nutrients you need.
Selecting Budget-Friendly Foods with Long Shelf Life

When it comes to building an emergency survival food kit on a budget, selecting non-perishable food items with a long shelf life is crucial. Here are some tips for identifying budget-friendly foods with a long shelf life.
Identifying Non-Perishable Food Items
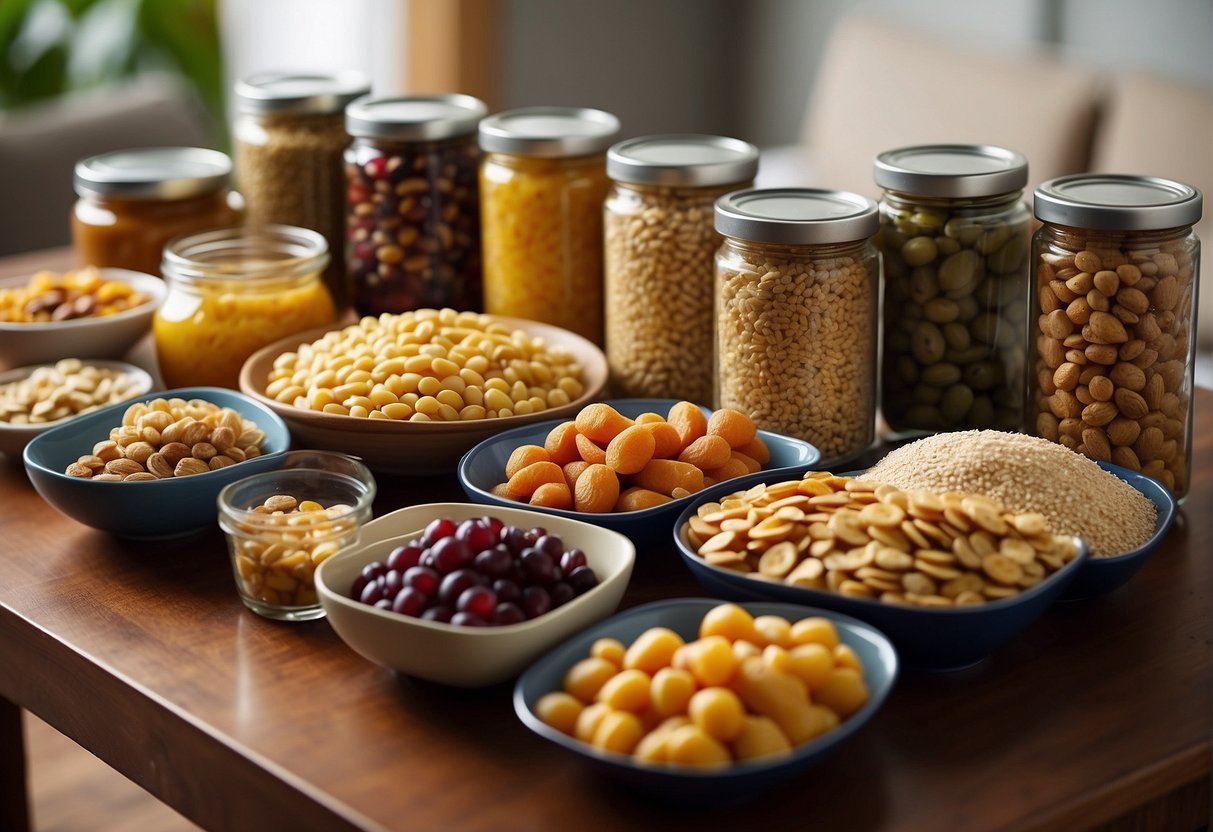
Non-perishable food items are a must-have when building an emergency survival food kit. These foods have a long shelf life and can be stored for an extended period without spoiling. Some of the best non-perishable food items to consider for your emergency food kit include:
- Rice: Rice is an excellent source of carbohydrates and can last up to 30 years if stored properly. Brown rice is a better option as it is a whole grain and has a longer shelf life than white rice.
- Pasta: Pasta is another excellent source of carbohydrates and can last up to 25 years if stored properly. Whole grain pasta is a better option as it has a longer shelf life than regular pasta.
- Beans: Beans are a great source of protein and can last up to 30 years if stored properly. Canned beans are a good option as they have a longer shelf life than dried beans.
- Oats: Oats are a great source of fiber and can last up to 30 years if stored properly. Steel-cut oats are a better option as they have a longer shelf life than instant oats.
- Canned goods: Canned goods such as fruits, vegetables, and meats can last up to 5 years or more if stored properly. Look for canned goods with long expiration dates.
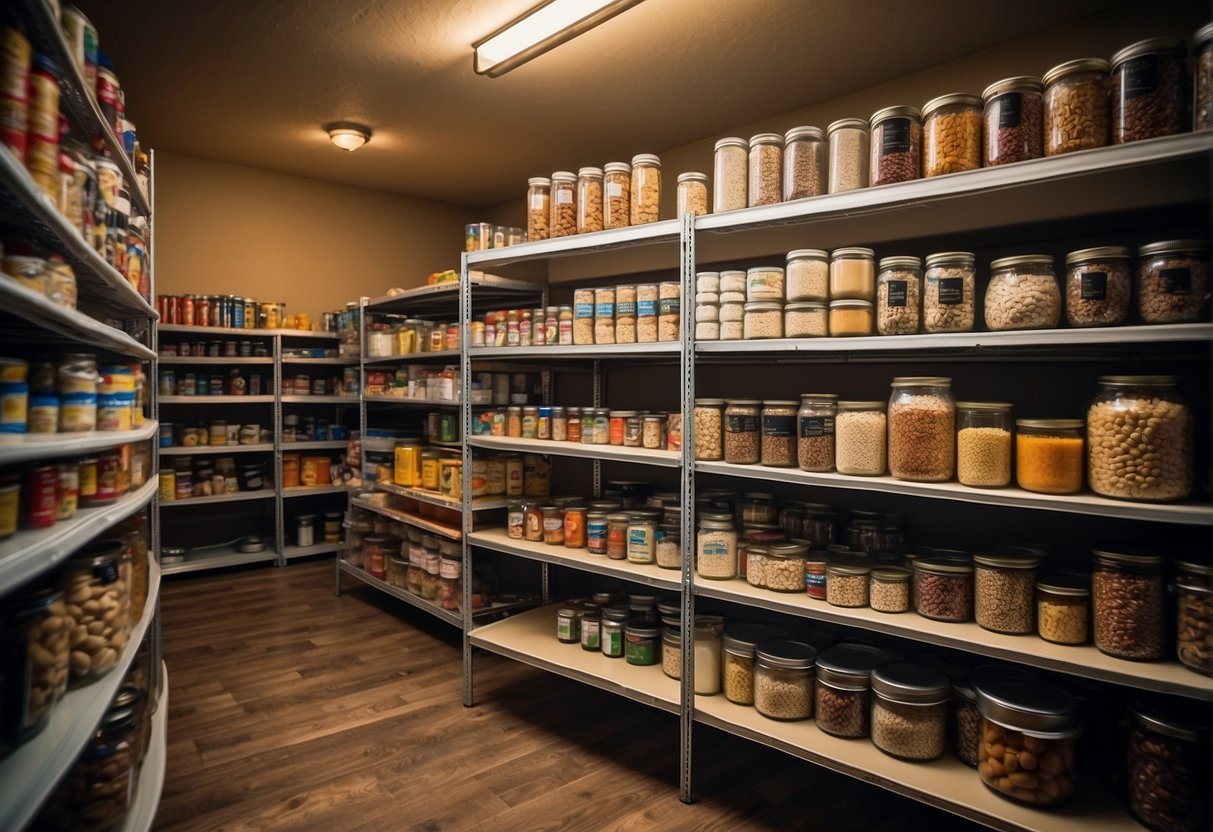
Best Practices for Food Storage
Proper storage is essential to ensure that your emergency survival food kit lasts as long as possible. Here are some best practices for food storage:
- Store your food in a cool, dry place away from direct sunlight.
- Use airtight containers to prevent moisture and pests from getting in.
- Rotate your food regularly to ensure that it doesn’t expire.
- Check expiration dates regularly and replace any expired items.
DIY Food Preservation Techniques
When it comes to emergency survival food kits, it’s important to consider the shelf life of the food items included. In order to ensure that your food lasts as long as possible, you need to use proper food preservation techniques. Here are some DIY food preservation techniques that can help you extend the shelf life of your food items.
Drying and Dehydrating Basics
Drying and dehydrating food is one of the oldest and most effective methods of food preservation. This method involves removing moisture from food items, which helps to prevent the growth of bacteria and other microorganisms that can cause spoilage.
To get started with drying and dehydrating food, you’ll need a dehydrator. You can purchase a dehydrator online or at your local home goods store. Once you have a dehydrator, you can start experimenting with different foods. Some great options for dehydrating include fruits, vegetables, and meats.
Another option for drying food is to use the sun. This method is known as solar drying and involves placing food items in the sun for several hours until they are completely dry. While this method takes longer than using a dehydrator, it’s a great option if you don’t have access to electricity.
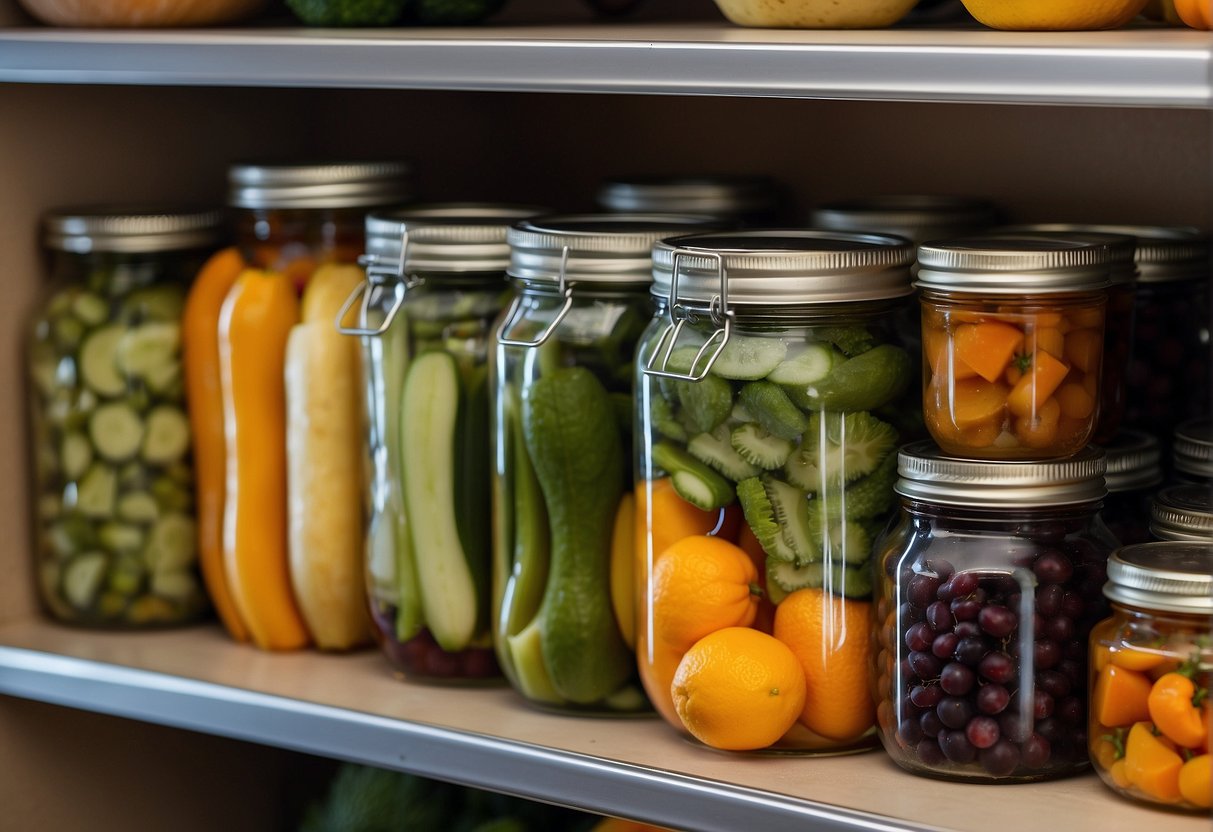
Vacuum Sealing for Longevity
Vacuum sealing is another great option for preserving food items. This method involves removing all of the air from a package of food and sealing it in an airtight container. By removing the air, you can prevent the growth of bacteria and other microorganisms that can cause spoilage.
To get started with vacuum sealing, you’ll need a vacuum sealer. You can purchase a vacuum sealer online or at your local home goods store. Once you have a vacuum sealer, you can start vacuum sealing your food items.
When vacuum sealing food, it’s important to use the right packaging. Mylar bags are a great option for vacuum sealing food items. These bags are made from a durable material that helps to prevent punctures and tears. Additionally, you can use oxygen absorbers in the bag to help prevent the growth of bacteria and other microorganisms.
Creating a Balanced Meal Plan
When creating an emergency survival food kit, it’s important to consider the nutritional value of the food items you include. A balanced meal plan should include a variety of food groups to ensure that you’re getting all of the nutrients your body needs to stay healthy and energized.
Incorporating Variety and Taste
Incorporating variety and taste into your meal plan will help keep you motivated to continue eating your emergency survival food kit. Including a variety of flavors and textures can also help prevent boredom and make mealtime more enjoyable. Consider including protein bars, vegetables, fruit, cheese, milk, and powder in your meal plan to add variety and flavor.
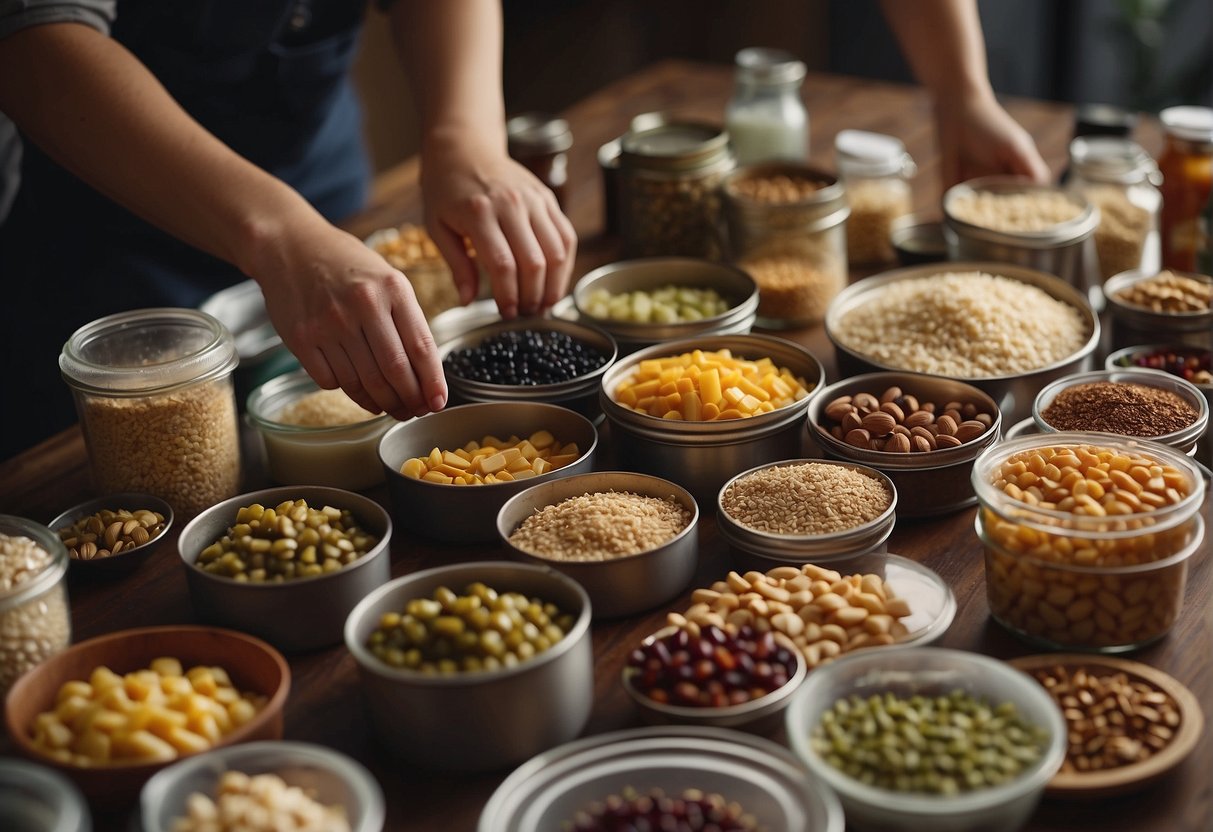
Meal Planning Strategies
To create a balanced meal plan, you need to plan ahead. Consider creating a list of meals for each day of the week, and include a variety of food groups in each meal. You can also consider pre-packaging your meals in individual containers to make mealtime more convenient.
When planning your meals, be sure to include a source of protein in each meal. Protein is essential for building and repairing tissues, and can help keep you feeling full and satisfied. Consider including protein bars, canned meats, or jerky in your meal plan.
In addition to protein, you also need to include a variety of fruits and vegetables in your meal plan. These foods are rich in vitamins and minerals, and can help keep your immune system strong. Consider including dried fruits and vegetables in your emergency survival food kit, as they have a longer shelf life than fresh produce.
Finally, don’t forget to include sources of calcium and other essential nutrients in your meal plan. Consider including powdered milk or cheese in your emergency survival food kit to help ensure that you’re getting all of the nutrients your body needs.
Assembling Your Emergency Survival Food Kit

When it comes to assembling your emergency food kit, there are a few essential components that you should include to ensure that you have everything you need to survive in an emergency situation. In this section, we will go over the essential components for your kit and how to package and label your supplies.
Essential Components for Your Emergency Survival Food Kit
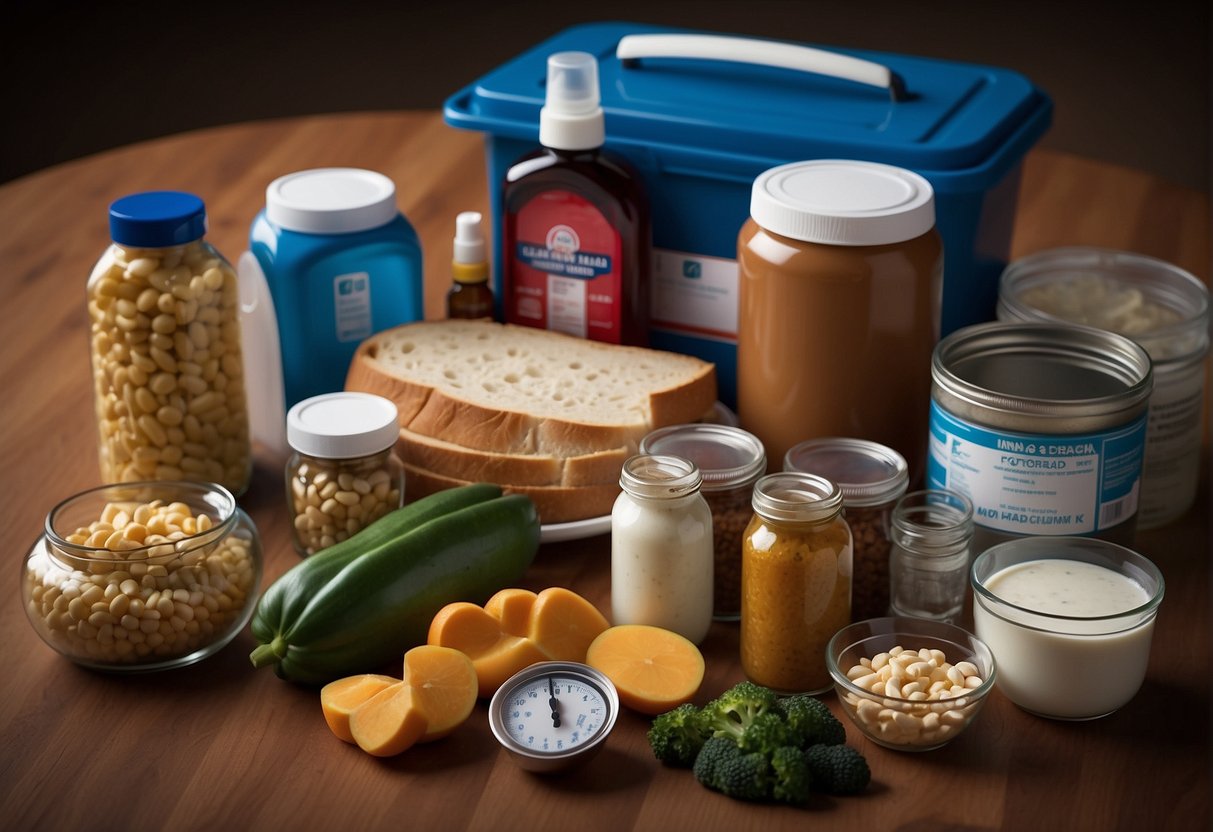
Your emergency food kit should contain foods that are easy to prepare, have a long shelf life, and are nutritionally dense. You should also ensure that you have all the major food groups covered. Here are some of the essential components that you should consider including in your kit:
- Water: You should have at least one gallon of water per person per day for drinking and sanitation purposes.
- Non-perishable food: This includes items such as canned goods, dried fruits and vegetables, nuts, and granola bars.
- Grains: Rice, pasta, and oatmeal are all good options to include in your kit.
- Protein: Canned meats, peanut butter, and jerky are all good sources of protein.
- Vitamins and minerals: You should consider including a multivitamin in your kit to ensure that you are getting all the essential nutrients.
Packaging and Labeling Your Supplies
Once you have assembled all the necessary components for your emergency food kit, you need to package and label your supplies. Here are some tips to help you with this process:
- Use airtight containers: You should use airtight containers to store your food to prevent spoilage and contamination.
- Label your supplies: You should label all of your supplies with the contents and expiration dates.
- Use a 5-gallon bucket: A 5-gallon bucket is an excellent option for storing your emergency food kit. You can purchase a pre-made kit or create your own using a 5-gallon bucket.
Supplemental Items for Your Emergency Survival Food Kit
When it comes to emergency survival food kits, it’s important to remember that food and water are not the only things you’ll need to survive. There are other items that you should include in your kit to ensure that you are prepared for any situation.
First Aid and Hygiene Products
In addition to food and water, it’s important to have a first aid kit in your survival kit. This should include items such as bandages, antiseptic wipes, and pain relievers. It’s also a good idea to include any prescription medications that you or your family members may need.
Hygiene is also an important consideration when it comes to emergency survival food kits. You should include items such as soap, toothpaste, and toilet paper. If you have young children, you may also want to include diapers and wipes.
Tools and Accessories
There are several tools and accessories that you should include in your emergency survival food kit. A can opener is essential, as many of the foods you include in your kit may be canned. You should also include a flashlight and extra batteries, as well as a radio to stay informed about any emergency alerts.
Cash is another important item to include in your kit. In the event of a power outage or other emergency situation, ATMs and credit card machines may not be working. Having cash on hand can help you purchase any additional items you may need.
Finally, it’s important to include appropriate clothing in your survival kit. This includes warm clothing for cold weather, as well as rain gear and sturdy shoes. You should also consider including blankets or sleeping bags to stay warm in case you are unable to return to your home.
Maintaining Your Emergency Food Supply
When it comes to emergency survival food kits, it is essential to maintain them regularly to ensure that they are in good condition and ready to use in times of need. Here are some tips on how to maintain your emergency food supply.
Regular Review and Rotation
We recommend that you review and rotate your emergency food supply every six months. This means checking the expiration dates of the food items in your kit and replacing any that have expired. It is also important to check the condition of the food packaging and discard any that are damaged, leaking, or bulging.
To make it easier to keep track of your emergency food supply, we suggest creating a list of the items in your kit, along with their expiration dates. You can then use this list to keep track of when you need to rotate your food supply.
Updating Your Emergency Survival Food Kit for Family Needs
As your family’s needs change, you may need to update your emergency food kit. For example, if you have a new baby, you may need to include formula and diapers in your kit. Or, if you have someone in your family with a food allergy, you may need to replace certain items in your kit with allergen-free alternatives.
Preparing for Specific Types of Emergencies
Natural Disasters and their Impact
When it comes to natural disasters, we must prepare for the worst-case scenario. Depending on where you live, you might be more prone to certain types of disasters such as hurricanes, floods, wildfires, or earthquakes. It is important to research the types of disasters that are most likely to occur in your area and prepare accordingly.
One of the most important things to consider when preparing for natural disasters is shelter. In case of evacuation, we must have a plan in place for where we will go and what we will bring with us. It is also important to have a stockpile of emergency survival food kits that can last us for at least a few days. These kits should contain non-perishable items such as canned goods, jerky, and dried fruits.
Survival Strategies for Urban Settings
Survival strategies for urban settings differ from those for rural areas. In an urban setting, we might not have access to the same resources as we would in a more rural area. Additionally, we might be more vulnerable to certain types of disasters such as EMPs or terrorist attacks.
One of the most important things to consider when preparing for urban emergencies is transportation. We must have a plan in place for how we will evacuate if necessary, and we must have a reliable means of transportation. It is also important to have a stockpile of emergency survival food kits that can last us for at least a few days. These kits should contain non-perishable items such as canned goods, jerky, and dried fruits.