Tents are exposed to a lot of wear and tear all the time and they can get easily damaged even when they are packed away safely.
Tents can get torn when pitched, during pitching, during the process of packing away, or even while they are stored away and not in use.
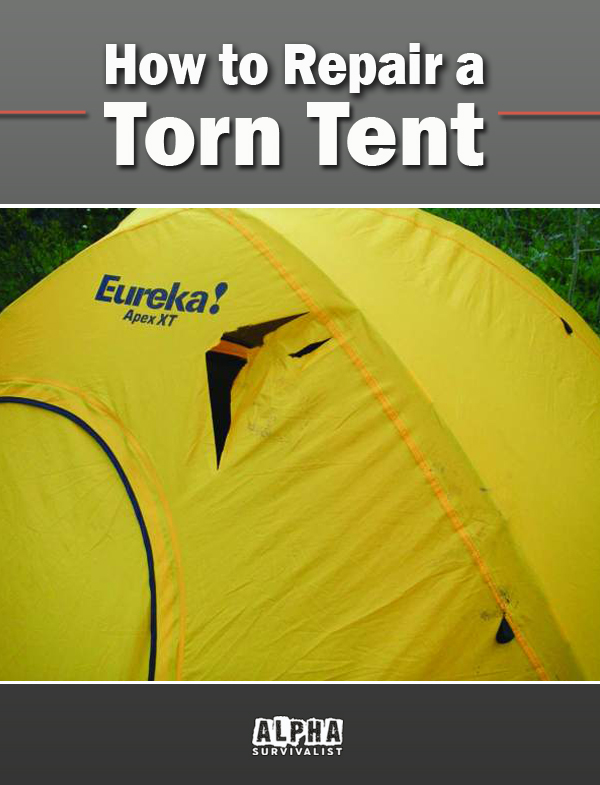
Even the smallest, most insignificant looking tear can quickly become something much bigger and without a prompt repair, what may have been a minor tear initially can soon escalate into a full blown rip which may mean the need to replace the tent completely.
Do not be left in a position of regret, even the best cold weather tent can be made pretty useless if water and cold can get in and heat can escape so repair any small tears as soon as they are found.
Fortunately, tent tears are not very difficult to fix – here are a few methods how:
Repairing Small Tears
Small tears can be repaired in just a few minutes even on the trail, provided that you are carrying the right tools.
What you need for this simple repair is some cloth repair tape made from a material that matches the type of fabric the tent is made from – nylon for nylon tents, and taffeta for canvas.
Use long strips of rip stop on both sides of the tear and make sure the sides of the tape attach well to the tent material.
To improve the durability of the fix, use some seam sealer on the edges of the tape.
Repairing Larger Tears
Repair tape is an important tool for mending larger tears as well, but fixing larger rips also requires equipment for sewing the tear as well.
Turn the edges of the tear under and stitch the turned edges together with some waxed seam to restore the water resistance of the torn area.
Make the stitches small and neat to ensure the strength of the sewn area and improve water resistance by applying some seam sealer, too.
Patching the Tear or Rip
Not all tears can be stitched together easily and without compromising the tent’s resistance to the elements.
Irregularly shaped rips and rips that are forked are more efficiently repaired with patches either from the patch kit you carry with you on your trip or made cutting out a suitable piece of cloth from a shirt or a towel (consider these later types of patches temporary solutions that will need to be replaced with patches made from suitable, durable and water-resistant material later). Repair tapes such as Tenacious tape and T-Rex tape are excellent temporary fixes, you could even use duct tape.
The patching process starts with laying the damaged tent component on a straight, solid surface.
Determine the size of the patch by stretching the patch material on the rip, then cut out the patch and sew it to cover the rip.
Apply small stitches, close to each other and pointing downwards to maintain as much as possible of the tent’s water-repellent qualities.
If the rip is in a tensed area, such as around the poles, you might have to patch the underside of the material as well.
If the area affected by the rip or the tear is in the door or window area and is made from mesh, the best way to fix the problem temporarily and to keep insects away from your tent interior during the trip is to use a patch kit that includes a mesh patch and repair tape as well.
Definitive Repairs
If you needed to make some temporary repairs during your trip, don’t forget to check the solution before you pack the tent away.
If you have applied only a temporary solution, remove it at home and make sure the problem is addressed professionally, with the tear sewn or patched with the right materials and with the right type of sealant applied, too.
Tent Related Posts:
- Best Cold Weather Tents for Under $200
- How to Clean a Tent that Smells
- How to Fix a Tent Zipper
- How to Insulate a Tent for Winter Camping
- How to Repair a Torn Tent
- How to Waterproof a Tent
- How to Stay Warm in a Tent in Winter
How to Repair a Torn Tent – Pin